If you’re new in the aquarium hobby, you may be thinking: “What the heck are rotifers, copepods, and phytoplankton? And why would I want to culture them myself?”
Trust me, we’ve all been there before at the beginning of our journey into the saltwater aquarium world.
These are live foods that will be beneficial if you have fry, LPS or SPS corals, wild-caught fish that eat live foods, and more.
Here’s my easy, foolproof, step-by-step way to set up your own cultures and maintain them at home.
[toc]
Needed Materials
The materials for all three cultures are roughly the same.
The only difference will be what starter you will need based on what you’re culturing.
Also, if you’re culturing phytoplankton, you will need a light and fertilizer.
- 5-gallon bucket or plastic container/jug
- Fresh saltwater
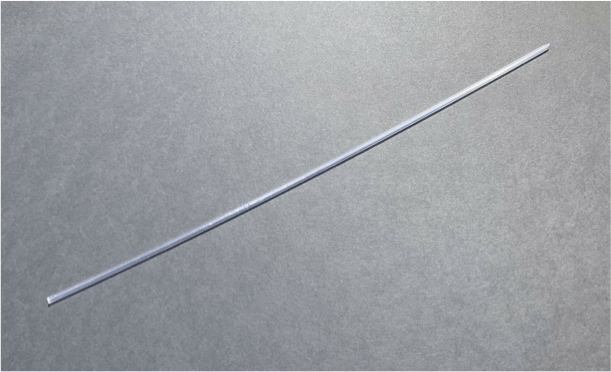
- Rigid airline (glass or plastic, glass is easier to sterilize though)
- Air pump
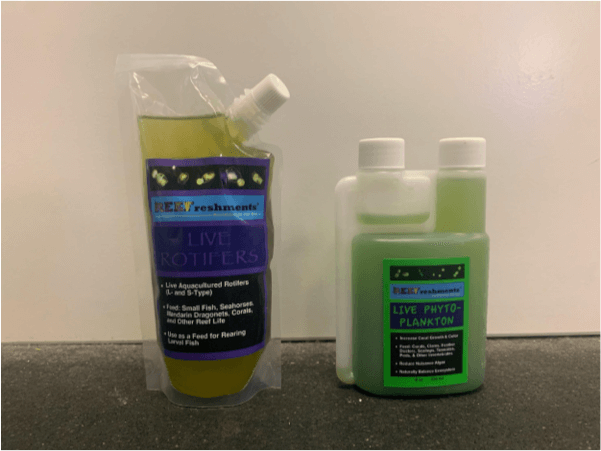
- Culture starter for phyto, copepods, or rotifers (find online or at your LFS)
- A light for the phytoplankton (nothing fancy, almost any household light will work)
- F2 fertilizer or Miracle Grow for phytoplankton (not needed for other cultures)
Setting up the Culture or Culture Setup
- Make sure you have fresh saltwater at about 1.019-1.021 specific gravity. You don’t need to fill the bucket or container up all the way. About 2-3 gallons to start is ideal.
- Let the culture float in the water to temperature acclimate, about 15 minutes.
- After the culture is temperature acclimated, you can dump it in the bucket.
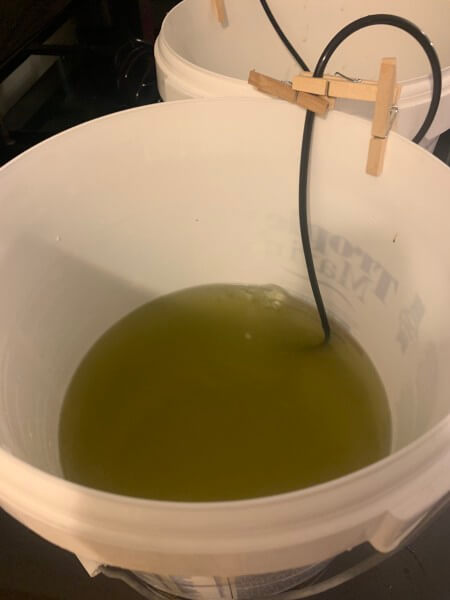
- Next, add your phytoplankton. You want to add enough so that the water is medium green, and you can’t see the bottom. You don’t want the water to be dark green, though. If you add too much phytoplankton, no worries. You can add some more saltwater to even it out. Even if you don’t add more saltwater, the rotifers or copepods will eat it regardless, so it’s not a big deal.
- After you add the phyto, it’s time to add the airline in. Do not use an airstone. Ensure there is the right amount of flow but not so much that the surface is skimming (or foaming). You’ll want about 2-3 bubbles a second.

After the initial setup, you will need to keep feeding your rotifer and copepod cultures.
You might have to feed them daily; it depends on how much they eat.
Make sure to keep an eye on it and add more phytoplankton when the water starts to lighten up.
When the water lightens up, it means your culture is growing, and they are eating. Keep the water a medium green color for the best success.
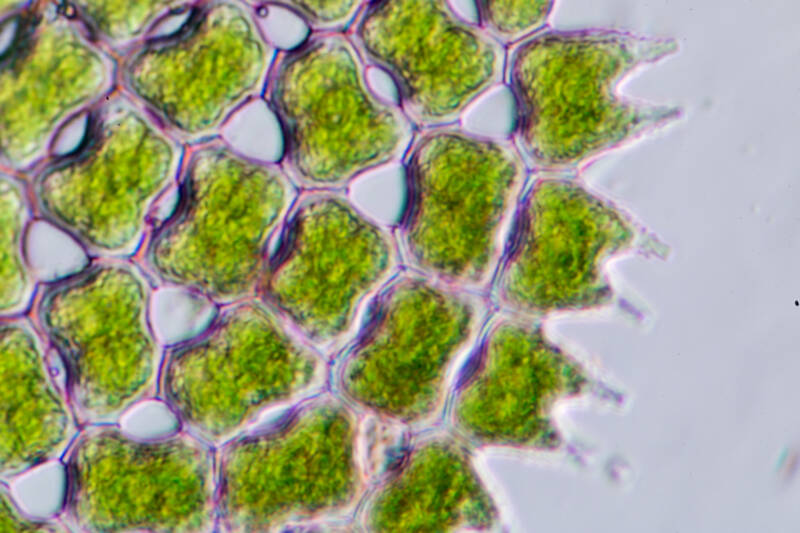
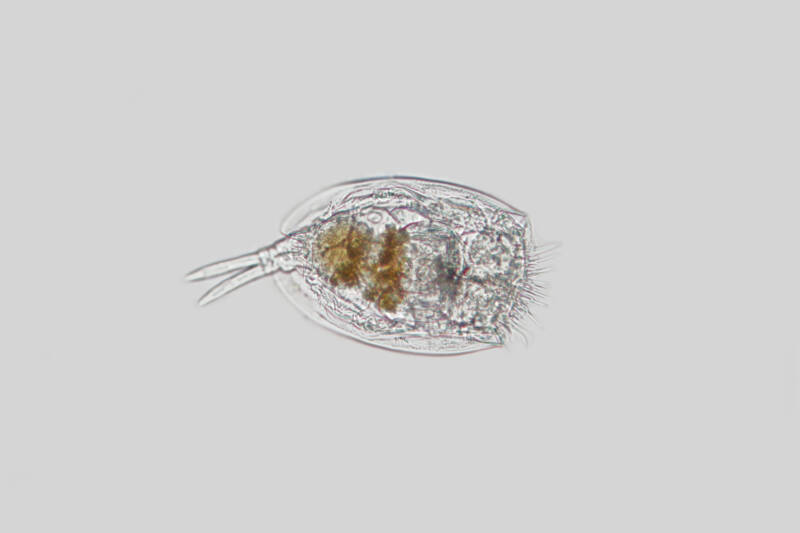
Do not forget that rotifers are tiny! You may think that nothing is happening in your culture.
There is, you just can’t see it. If you shine a light in the bucket, the rotifers will look like dust.
Special Phytoplankton Setup
If you’re culturing phytoplankton, you’ll need to add a light.
As mentioned above, almost any household light will work.
Rotifers and copepods aren’t photosynthetic so they do not require it – however, they are attracted to it.
You will also need to supplement the phytoplankton with fertilizer.
It will jump-start the growth in your culture and will make it grow quickly. Follow the directions on the bottle and dose accordingly.
If you start your culture with 2-3 gallons of clean saltwater, let your culture double in that water.
When you start to see significant growth, you may add in more clean saltwater, about a gallon at a time. Repeat until you’re ready to harvest.
Important Notes About Flow
The right amount of flow is crucial in the health of any marine ecosystem.
If you have too much, it could stress the fish or LPS or SPS corals, creating health problems.
If you don’t have enough, there will be dead spots. Dead spots contribute to algae issues, nutrient build-up, etc.
It’s essential not to use an air stone with your airline tubing.
You want a fair amount of flow in your bucket, but you DO NOT want the water to be foamy on top.
If it is bubbly on top, that means it is basically skimming the water, and it will crash your culture.
If your bucket develops a ring of film at the top of the waterline, you don’t have enough flow.
Time to Wait
After you have completed the previous steps, you’re done! For now.
It takes about ten days to see significant growth in a copepod population.
Rotifers take almost half the amount of time, so about five days.
You don’t need to do anything else for those first few days until you see substantial growth in population.
Once that happens, it’s time for every aquarist’s favorite part – the glorious maintenance. I hope you sense my sarcasm.
If you’re not ready to harvest your culture yet, add another gallon of water, or two. Make sure you add more phytoplankton to keep your culture fed.
Harvesting
Rotifers & Copepods
What you need:
- Fresh saltwater
- Appropriate size sieve (180 microns for copepods, 53 for rotifers)
- Turkey baster (optional)
Harvesting the cultures is super easy. All you have to do is take your sieve and sift it through the culture.
Next, get some fresh saltwater with your turkey baster. Put the sieve over your tank, flip it over, and baster the fresh saltwater over the sieve into your tank.
Phytoplankton
Harvesting phyto is also very simple.
You’ll know it’s time to harvest when your water turns a dark green color.
To harvest and store phytoplankton, you’ll need a few sterilized containers. You could use glass mason jars, water bottles, or any other glass or plastic container.
Harvest about 2/3 of the culture when you’re ready. You can scoop out the water with a clean cup, or just pour it into the containers, use a funnel if you’d like.
Date and label the containers, so you know when you harvested the batch. Labeling them is important, so someone doesn’t get ahold of it and think it’s a beverage.
Store in the refrigerator for a few weeks. Make sure to shake the container up every few days to stir up the culture.
You can use this harvested and stored phytoplankton for a few different things.
You can feed cultures, start a new phytoplankton culture, or feed corals — just for starters.
Maintenance
You’ll know when it’s time to do maintenance.
The water will start to smell. Bubbles will gather on the side of the bucket, indicating ammonia build-up.
The bulk of the maintenance includes water changes.
You’ll only need to do significant water changes like this every 2-3 months.
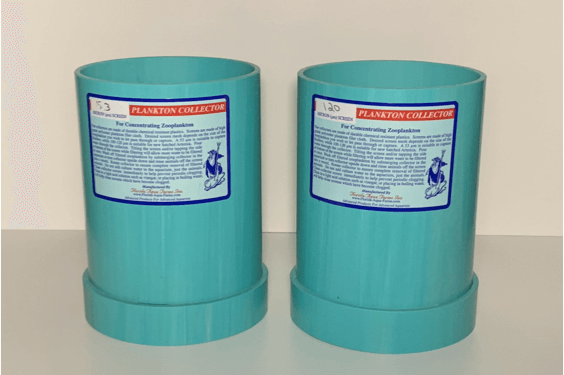
It’s relatively simple, but you’ll need a few different-sized sieves to do it right.
Here is what you need:
- 3 five gallon buckets
- 3 sieves (300 microns, 180 microns, 53 microns)
- Siphon hose
- Fresh saltwater
Copepods & Rotifers

First, you need to have a bucket ready with new saltwater.
Stack up the sieves from the largest micron on the top, to the smallest on the bottom.
For example, when straining copepods, the 300 microns will be on top and 180 on the bottom.
For rotifers, the 300 microns will be on top, and the 53 will be on the bottom.
The largest micron sieve will collect debris that is larger than copepods and rotifers. This way, you won’t put gunk into your new water.
Now, it’s time to sieve the cultures. If you stirred up the bottom on accident, wait about 30 mins until it settles to begin.
You might need a helper for this next step.
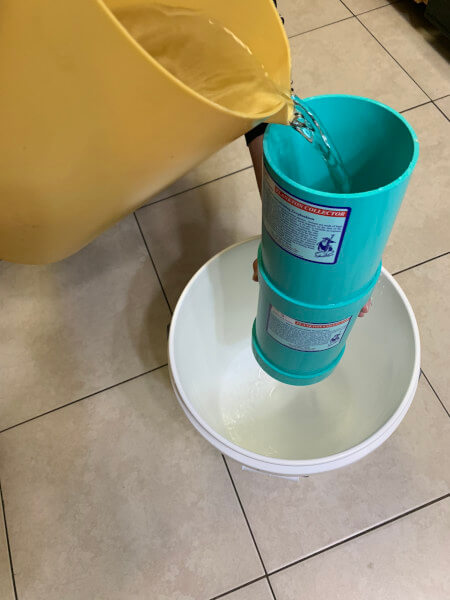
Hold the stacked sieves over an empty bucket, sink, or tub, and start pouring the culture over the sieves. I usually leave the last bit of water because it’s going to be mostly debris.
After you’re done with that, empty your sieves into the bucket with the fresh saltwater. Flip the sieve over and simply pour some fresh saltwater over to clear the sieve.
After that, add your rigid airline tubing and phytoplankton again. Again, just enough to make the water a medium green.
And you’re done.
Phytoplankton
Each time you harvest and add new water, you’re doing a water change.
You don’t have to strain or do anything fancy here to maintain this culture.
Closing Thoughts
Sustaining a live food source can be expensive and time-consuming if you’re buying from your LFS weekly.
With a little bit of effort, you will save yourself time and money.
Culturing rotifers, copepods, and phytoplankton may seem complicated at first. Once you do it, though, you’ll realize it’s not.
If your culture crashes the first couple of times, don’t worry and keep on trying.
You may develop your own tips and tricks along the way.
So, do you think you can do it? There’s only one way to find out!