Whether you prefer colorful freshwater tanks or the allure of a vibrant reef tank, complete with LPS or SPS corals and sea anemones, you like to provide the best foods for your fish.
And nothing goes over better than live foods your fish and invertebrates can chase down.
One of the top live food choices for any aquarist to grow and maintain is brine shrimp. These tiny crustaceans are popular with fish around the world.
And they appeal to EVERYONE! Kids grow them as sea monkeys, and scientists use them to study toxicities and water chemistries.
If you’ve considered the possibility of setting up a brine shrimp aquarium, you’re in luck. They’re simple to obtain, grow, and manage.
In no time at all, your fish will have a ready supply of their favorite live food. And you’ll have a new hobby!
[toc]
What are Brine Shrimp?
Brine shrimp (Artemia salina) refers to multiple varieties of crustaceans that inhabit INLAND saltwater environments.
That’s right! These little shrimp love salt (hence “brine”), but they’re too tasty to survive for long in the ocean. So they moved inland over 250 million years ago.
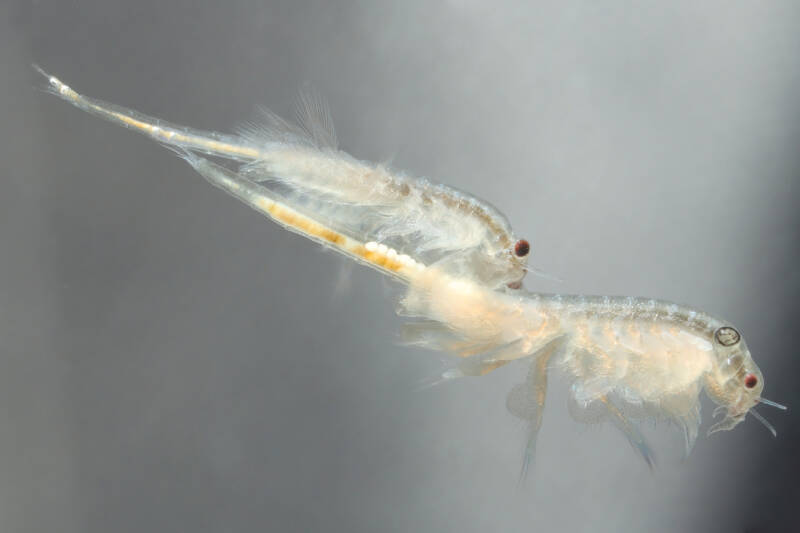
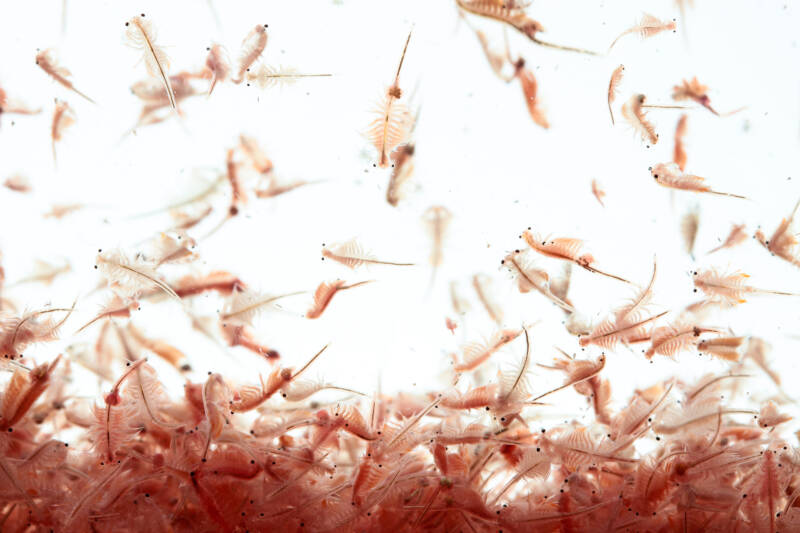
It’s easy to recognize them, despite their differences from the “true shrimp” you’ll find in the rest of the crustacean group.
They have compound eyes at the end of an eyestalk. And you’ll see a long, tapered body with eleven pairs of leafy legs they use for swimming.
With so many years to adapt and survive, they’re considered one of the most successful animals.
People find Artemia in waters only one-tenth as salty as the ocean. However, at the other end of the spectrum, they tolerate water several times HIGHER than seawater.
Why the wide range? Brine shrimp usually haunt regions where water only exists for short periods. As the ponds evaporate, the salt concentration rises. Without that adaptability, they’d quickly die off. Instead, they endure. And their cysts are even more robust.
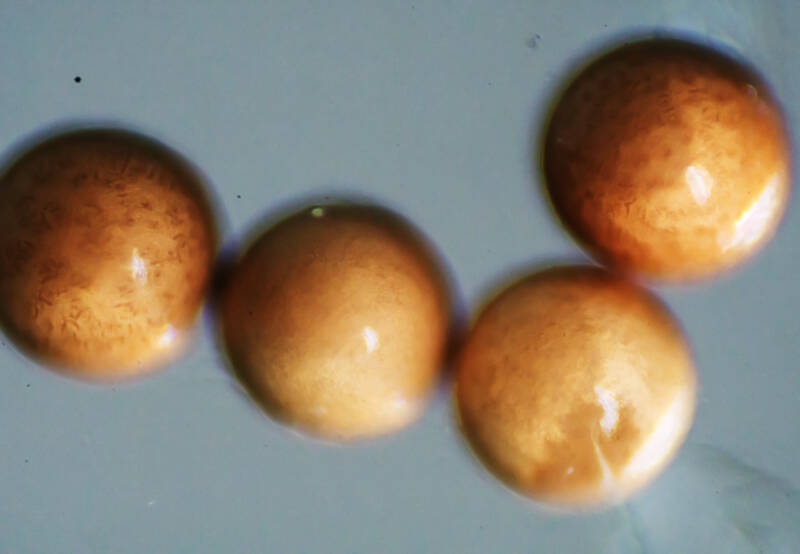
Female brine shrimp carry eggs in a brood pouch on their abdomens.
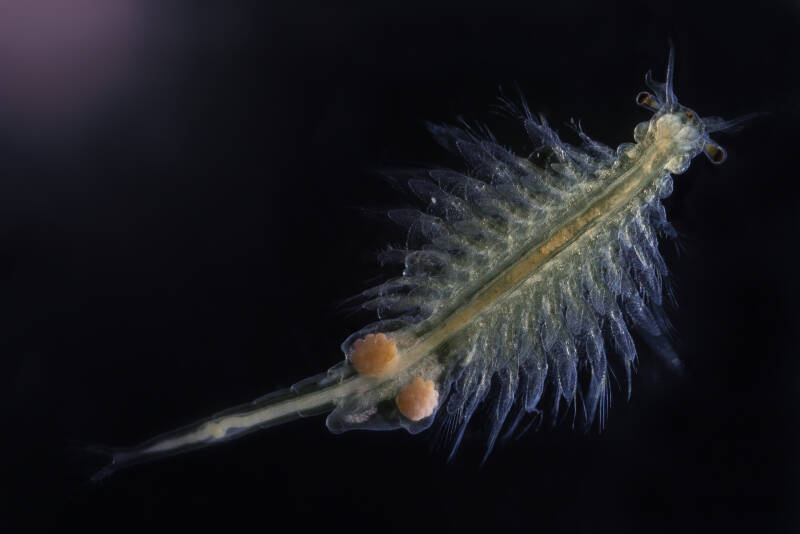
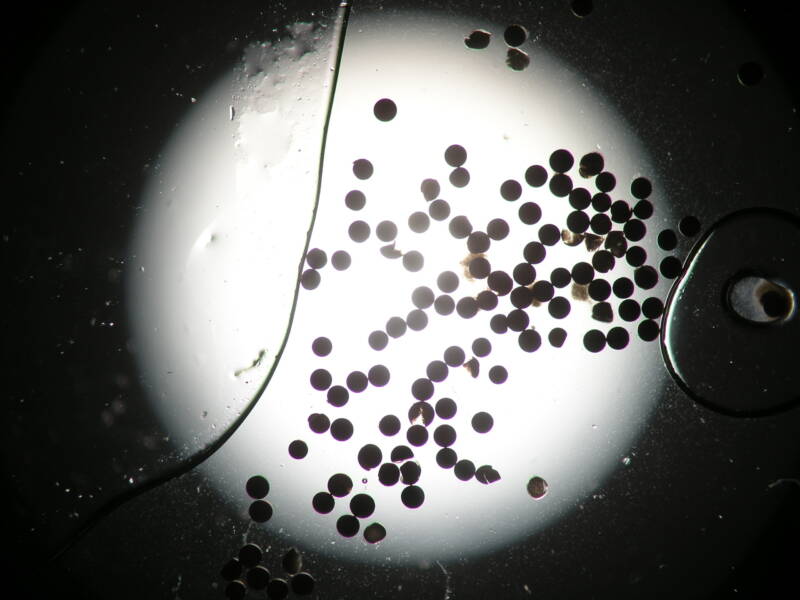
When the eggs dry, they become cysts. And cysts remain viable for YEARS!
A brine shrimp cyst can tolerate heat, freezing, drying, salinity, OR humidity – leading to the production of brine shrimp aquariums.
Size
The average adult brine shrimp don’t get any larger than 0.5 inches (1.3 cm).
That size makes them easy targets for every animal in a body of water. If their earliest ancestors hadn’t decided to move inland, odds are the species would’ve gone extinct.
But the convenient snacking size makes them ideal for setting up brine shrimp aquariums. Both brine shrimp nauplii (newborns) and adults make excellent food sources for saltwater AND freshwater species of fish of all sizes.
Lifespan
Officially, brine shrimp go through around 14-17 stages as part of their life cycle. But only scientists working on toxicity studies (or the avid fan) pay attention to all of them.
Most aquarists know and recognize four primary stages:
- Cyst
- Nauplii
- Juvenile
- Adult.
Cysts take approximately 24-36 hours to hatch (once exposed to the proper conditions). The nauplii survive on their yolk sac for 24 hours before they need supplemental feeding.
And if you provide a proper living environment? Your Artemia can live for up to six months.
But, of course, most brine shrimp never make it take long. Aquarists like to use the nauplii stage for feeding.
And the longer a shrimp lives, the LOWER its nutritional content goes. So a six-month shrimp doesn’t appear too often in brine shrimp aquaculture.
Feeding Brine Shrimp to Fish
Brine shrimp appeal to fish because they swim. The movement of the tiny invertebrates through the water draws fishy attention.
And since you can grow out every size of the shrimp, you can provide live food to ANY of the residents of your tank.
Some fish species come with picky appetites. They don’t always recognize prepared meals as sources of food.
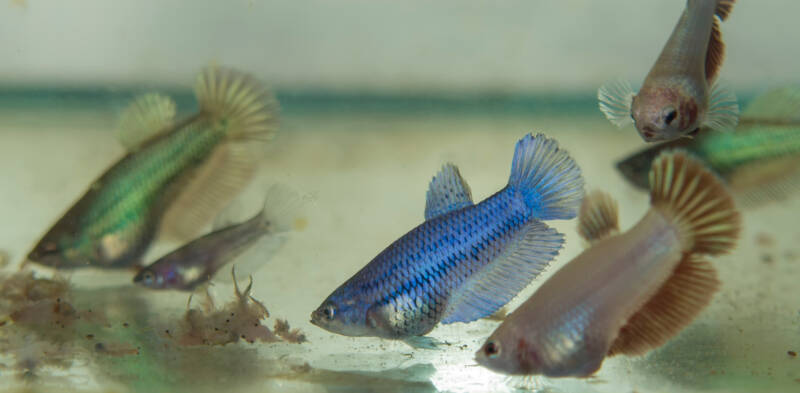
But alive, moving prey item? That registers immediately. And the Artemia nauplii gives you a chance to make sure your fish don’t starve.
Aquarists like brine shrimp as a food source for plenty of reasons.
Even if you don’t set up your own brine shrimp aquarium, odds are you purchase them now and then from the fish store. And not just because you like watching your fish chase them down.
Brine shrimp don’t go through any special processing.
Unlike commercial fish foods, you’re not adding artificial colors, flavors, or preservatives to the tank during mealtimes. This means you can offer your fish and invertebrates a healthy diet option.
And these tiny crustaceans pack on the nutrients! For example, in a single brine shrimp, you get all of the following (depending on its life stage):
- Protein: 37-71%
- Lipids (fat): 12-30%
- Carbohydrates: 11-23%
- Ash: 4-21%
- Chitin (which acts as roughage).
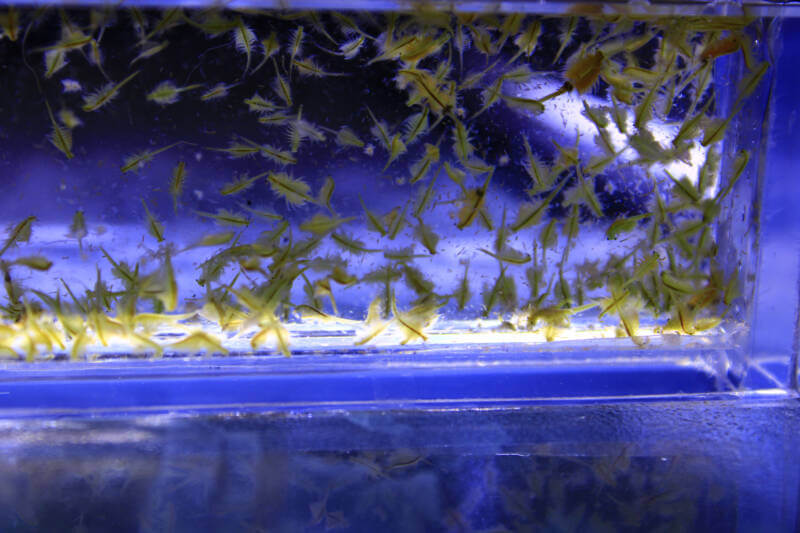
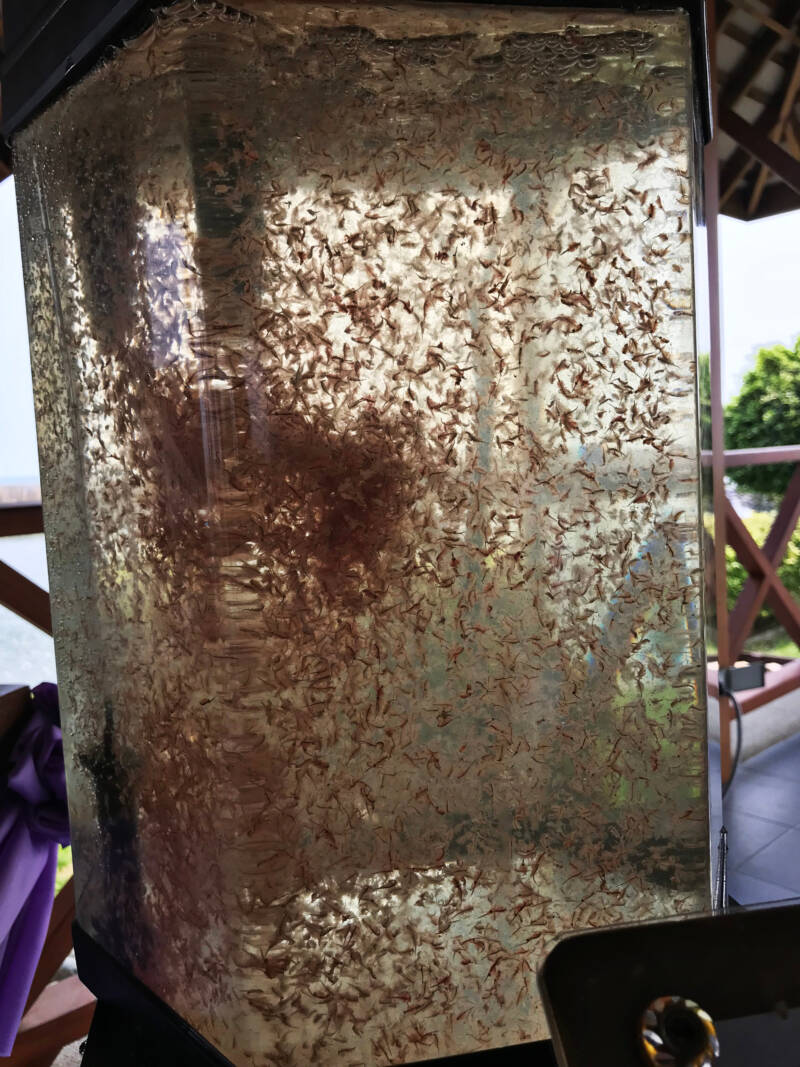
Brine Shrimp Aquariums
With brine shrimp being so popular, plenty of aquarists set up their own “farms.”
This allows them to have the tiny crustaceans available at all times – at every life stage. Then you have various sizes ready for your community tanks.
While small and hardy, you need a basic knowledge of brine shrimp before you tackle a professional setup (or even a DIY version of a brine shrimp aquarium). Otherwise, you may find yourself with cysts hatching and dying rapidly.
Brine Shrimp Needs
As with any other saltwater shrimp (or fish, corals, anemones, plants, etc.), Artemia have basic survival needs.
You’ll want to make sure you have a tank with a proper salinity (more on that in a minute), a source of oxygen, and plenty of food.
Brine Shrimp Salinity
You ONLY find brine shrimp in saltwater with a 35–40 ppt salinity level or specific gravity of 1.024–1.028.
And while the salinity ranges – sometimes down to brackish – they’re not freshwater species.
It’s important to understand that your little live food options will NOT survive in freshwater.
However, there’s a brief exception to the rule – and it’s what makes them an ideal food source. They can handle freshwater for a few hours. This is why they don’t pass away immediately after you introduce them to your freshwater aquarium.
Brine Shrimp and Oxygen
In the wild, brine shrimp tolerate lower dissolved oxygen levels than many other species. (Again, they’re wildly successful)
As they start to experience stress due to low oxygen, you’ll see them turn a bright red. This is because of rising hemoglobin in their systems.
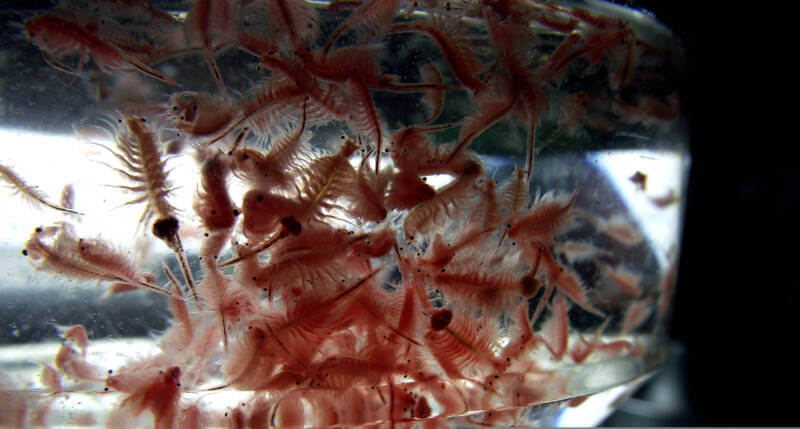
You want to avoid stress in your brine shrimp aquarium. This means providing AT LEAST two air stones or air pumps in your tanks.
The first one will keep the cysts floating at the surface until they hatch. And the second provides a gentle current to circulate food and deliver oxygen.
Don’t overdo things with the airflow, though. Remember, brine shrimp are TINY. You want to set the flow for medium bubbles. It sounds strange, but if you go too small, you’ll interfere with the shrimps’ ability to swim and feed. (The bubbles adhere to their legs)
Brine Shrimp Diets
Most people feed out brine shrimp nauplii. This stage in their life cycle doesn’t require feeding.
But if you’re planning to raise your shrimp to adults, you’ll need the proper foodstuffs on stand-by. And what you choose depends on the menu of your fish.
You gut-load your shrimp. And their diet transfers to your fish.
So when you look over your tank, consider what will benefit the omnivores, herbivores, and carnivores in the long run. Then you’ll know which of the following brine shrimp foods to stock:
- Commercial fry food
- Egg yolk
- Fish meal
- Green water algae
- Infusoria
- Soybean powder
- Spirulina
- Wheat flour
- Whey
- Yeast.
If you research how to care for other shrimp species, you’ll often find recipes for brine shrimp care, as well.
As long as the mixture WON’T dissolve in water, you can’t go too far off the mark. Items that dissolve will quickly lead to a messy tank.
The amount you feed isn’t a precise science. You guess based on the clarity of the water. Look for a “slightly cloudy” appearance.
If things get clear, it’s time to add more. Try to measure how much you add and how long it lasts to determine a feeding schedule.
Setting Up a Brine Shrimp Aquarium
Setting up a brine shrimp aquarium is fun. Not only do you get to provide a food source for your fish, but you also get to watch the life cycle of a creature that existed during the Triassic Period! You’re caring for a primitive lifeform.
Of course, there’s a lot of responsibility involved. You’ll need to take the time to ensure a proper setup.
And once those cysts hatch, you’ll find yourself busily shifting nauplii and arranging shrimp menus. But, when you get the hang of it, you’ll wonder how you ever did without!
Equipment
Obviously, the first thing you need to do is gather all of the necessary equipment.
And while the backs of comic books make hatching sea monkeys sound easy, a brine shrimp aquarium is a little more challenging:
- 2-3 tanks (A hatching tank, growing tank, and potentially a tank for the adults)
- Aquarium salt
- Air stones (At least 2 per tank)
- Heaters
- Flashlights (At least 2)
- Plastic divider
- Black film/Cardboard
- Brine shrimp cysts
- Pipette
- Artemia sieve.
Tank Setup
If you want to keep things simple, you can find Artemia hatching kits. They take the trouble out of the DIY tank setup.
But if you’re up for a bit of work, it’s easy enough to make your own hatching tank. (The tanks for growing and adults don’t require anything special)
The hatching tank needs a divider to separate the cysts from the nauplii.
You can make your own with a piece of stiff, opaque plastic. Cut a 1.5-inch (3.8 cm) hole in the middle. Then you’ll need to cut another piece of plastic – a disc large enough to cover the gap.
Punch holes in your disc. Then you’ll need to attach it to the divider so you can swing it open and closed. This is how you’ll allow the nauplii to move between the two sides of the tank.
When you finish, secure the plastic sheet to section off the tank into one-third and two-thirds.
Now you need to cover the larger side of the tank to make it dark since brine shrimp are attracted to light. But YOU want to control where they go once they hatch. So you can use black sticky film, cardboard, or any other means of darkening that side (the lid, too).
Once you’re sure those preparations are ready, it’s time to get the tank filled.
Consult the instructions on your salt mix to add the proper amount. For brine shrimp aquariums, you want a specific gravity of around 1.024-1.028 (higher than you see in saltwater aquariums).
ONLY use dechlorinated water. Chlorine’s toxic to brine shrimp nauplii.
If you don’t have a ready source of distilled water, make sure you add a dechlorinator to the water before you mix in your aquarium salt.
You’ll probably also need to add a heater to the tank – unless your home can maintain a constant temperature of 80-82F (26.6-27.7C).
Then you need to check that you’re pH level remains above 8.0. Continuous checking of water conditions is essential!
When you’re satisfied with your water, add the air stones. You absolutely need one on the larger side of the hatching tank. The airflow will make sure the eggs remain afloat. Otherwise, they’ll settle on the bottom.
The growing tank (and the adult tank) should get set up the same way – minus the divider and the darkened sides.
Growing brine shrimp need a healthy source of light, so consider setting the tank somewhere that receives sunlight. (Avoid DIRECT sunlight, though)
Congratulations! You’re now ready to start hatching and maintaining a brine shrimp aquarium!
Perform water quality testing on your tanks one last time. And make sure you have food prepared for any of the shrimp you don’t plan to feed out.
Hatching Brine Shrimp
At water temperatures between 80-82°F (26.6-27.7°C), brine shrimp cysts only need around 24 hours to hatch.
If you go lower with your temp, it will take longer. And higher may cause the nauplii to have problems with development. So have a thermometer handy.
To hatch and grow your brine shrimp, follow these handy steps:
- Add your brine shrimp cysts to the dark portion of the aquarium. You want to aim for ¼ teaspoon/0.25 gallon (1g/l).
- Leave the tank covered and alone for 36 hours. This allows the baby brine shrimp plenty of time to hatch.
- Turn off the air stone in the dark portion of the tank. The unhatched cysts will settle.
- Switch on a flashlight at the “bright” end of the tank and open the disc in the divider.
- Use a pipette to collect your shrimp (CAREFULLY) and move them to an Artemia sieve.
- If you want, use some of your harvest to feed your fish.
- Transfer the remainder of the baby brine shrimp to the growing tank.
- Clean the unhatched cysts, eggshells, and dead shrimp from the dark portion of the tank. Replace the disc on the divider.
- Switch off the flashlight and clean the other portion of the tank.
- Turn the air stone back on.
- Add fresh brine shrimp cysts to the dark portion and start again!
Feeding Brine Shrimp to Fish
Fish LOVE brine shrimp. And with all of the nutrients possible – with no fillers or processing chemicals – aquarists find them a great idea, too.
Now that you have your brine shrimp aquarium up and running, it’s time to get those crustaceans into your fish tank!
When Can You Feed Brine Shrimp?
Officially, you can feed brine shrimp at any age. Some aquarists even choose to perform a process known as “awakening.” This decapsulates the cysts and exposes the nauplii.
It involves a soak in bleach, though, which can pose risks to your tank if you don’t rinse thoroughly.
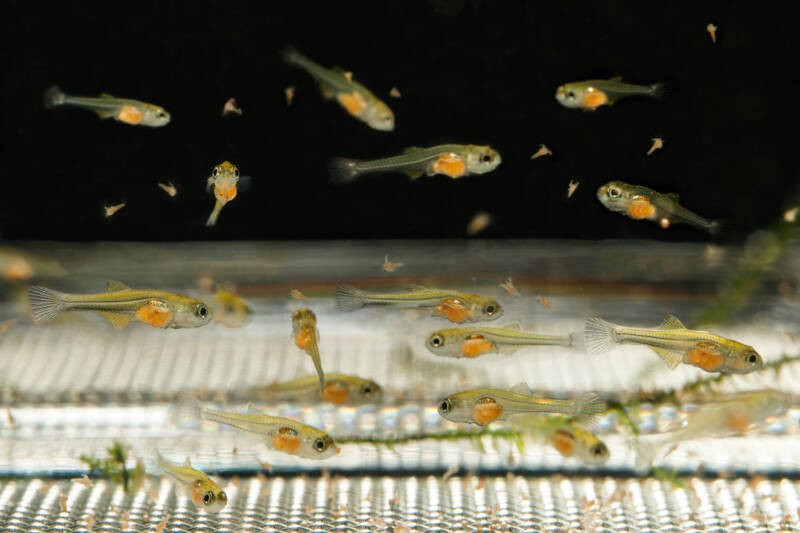
Most aquarists choose to feed baby brine shrimp to their freshwater and saltwater fish.
The freshly-hatched Artemia don’t require food from you. Instead, they survive for the first 24 hours on their egg yolk. And they have the most nutrients of any stage of the shrimp’s life cycle.
Feeding Technique

Remember the flashlight trick you used to move your brine shrimp around to the growing tank? The same technique works when you’re ready to feed your fish, LPS or SPS corals, or sea anemones.
You can use any light source to get the shrimp to cluster in a corner. Give them around 10-20 minutes to move toward the light.
Depending on the stage you plan to feed, you can then use a pipette or Artemia sieve to collect your harvest.
Once you’ve given the crustaceans their rinse, you’re clear to start feeding your fish.
You can either offer the brine shrimp one at a time (good luck if you’re using a pipette), or you can dump the entire meal in at once and watch your fish go to town.
Do You Need to Rinse Brine Shrimp?
Plenty of saltwater aquarists use brine shrimp aquariums to feed their fish. And they’re popular menu items in freshwater.
Either way, it’s essential to give those invertebrates a thorough rinse before you offer them.
Omitting the rinse can lead to problems with your fish. You’re doing two things when you perform a rinse:
- Cleaning the shrimp
- Adjusting the pH balance.
The best method is to rinse your brine shrimp in tap water and then allow them to sit in a container of tank water for 10 minutes.
Your shrimp will survive without a problem. And you’ll prevent any possible impurities from transferring from the shrimp tank to your fish.
Can You Store Brine Shrimp?
With a fully functioning brine shrimp aquarium, you’re bound to find yourself with some excess “fish food.” (Measuring out cysts isn’t the most precise science) You don’t want any of those crustaceans to go to waste. And you don’t have to.
Thanks to their hardy nature, you can easily collect hatched nauplii with some water and refrigerate them.
They’ll remain viable (and nutritious) for three days. Simply allow the liquid to return to tank temperature before you feed them to your fish.
Or you can FREEZE your Artemia! Again, they’re THAT durable. Add the nauplii to an ice cube tray.
You can safely store them in the freezer for WEEKS. Then you can either thaw the cube or add it directly to the tank (though your fish won’t get live food that way).
The Best Live Food
With their adaptability, Artemia have persisted for MILLIONS of years. And aquarists have found a way to capitalize on their incredible usefulness.
If you’re willing to invest the time and money, you can easily set up your brine shrimp aquarium to feed your fish.
The tiny invertebrates work well for SO many creatures! Whether you have a saltwater or freshwater aquarium, odds are something will happily snack on them. And you won’t have to worry about chemicals or unwanted artificial additions.
Do you have a brine shrimp aquarium? Did you purchase a kit or do a DIY setup?
What foods do you maintain your shrimp on?
Let us know your stories and questions here!