
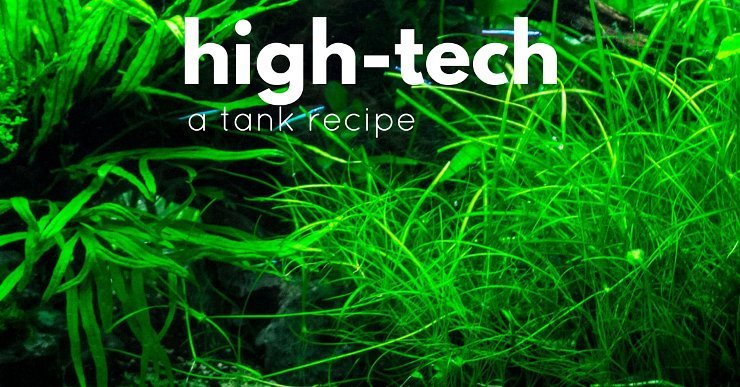
A “high tech” planted tank is one that has strong lighting. That strong light makes the plants grow fast, but they can only do that in a healthy way if they have plenty of carbon dioxide. In a high tech setup, this is provided by bubbling the gas into the water through a diffuser.
Low tech planted tanks are great too, just different. In a future article I hope to tell you my experience of setting up a cheaper low tech alternative and comparing the two methods.
(source)
NavigationWhy the plants in my “fish dominated” tanks did not thriveHigh-tech Planted Tank Wealth Warning – Extra costs compared to a ‘normal’ tankMy TankMy Tank ChoiceFiltrationLightningSubstrateBasic step-by-step SetupWhat not to do (that I did do!)Liquid FertilizersCarbon Dioxide injectionCycling and Water Quality ManagementPopulating the tankPlant listCrittersCostingClosing Thoughts
I have kept plants in my aquariums before. But they were an afterthought. Everything was designed for the fishes’ convenience and then a few Amazon Swords were put in to “make it look nice”. The way I did it, they never grew, often they would get coated with algae and eventually were thrown away because they looked so lousy.
Why the plants in my “fish dominated” tanks did not thrive
- Not enough light.
- Plain gravel substrate with not ‘goodness’.
- No carbon dioxide source.
- Roots constantly disturbed by gravel cleaning, due to heavy fish population.
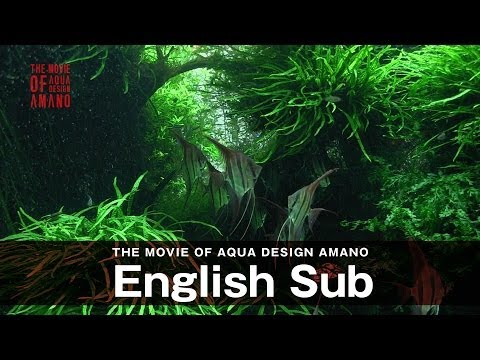
I knew I could do better and I had been inspired by the tanks I had seen on YouTube.
ADA Video:
The high-tech route is expensive. The benefit is that it allows you to grow a wider range of plants. However, from the get-go, I had decided to choose easy plants that might have done fine in a much cheaper system.
The reason I did that was that I could see there was a huge amount to learn in just how to set up and run the equipment without making my life even harder with demanding plants. Also easy, fast growing plants fight off algae well by gobbling up nutrients.
I figured that in time I would swap things out and grow fussier stuff.
High-tech Planted Tank Wealth Warning – Extra costs compared to a ‘normal’ tank
- Carbon dioxide kits can be expensive and buying the gas pushes up your running costs.
- Good substrate is expensive.
- Filling a tank with good plants will cost easily as much as your fish.
- If you decide you need reverse osmosis water, add another few hundred dollars.
My Tank
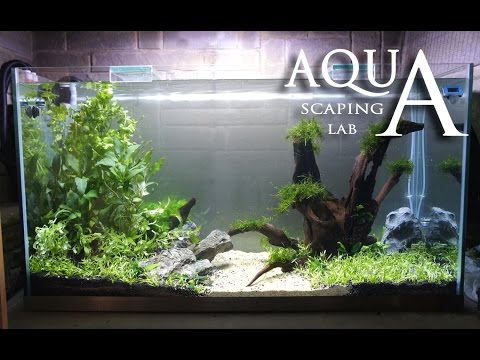
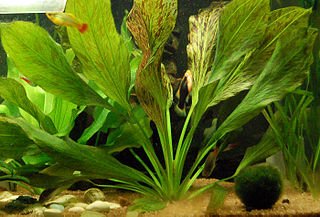
This is my planted tank. It’s not stunning, but I’m proud of it. The plants aren’t rare or special and my layout was not well thought through. However, it is full of life, the plants a growing happily and algae is under control. It is genuinely a real joy to own.
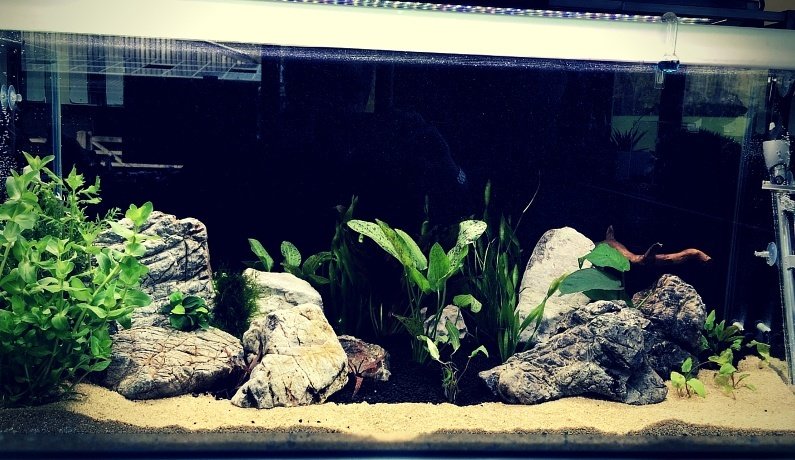
Day 1.
My tank is now a month old. The set up was really not that hard but I did spend a huge amount of time researching around the subject and worrying about equipment choice. I hope by sharing my recipe for this tank, you can get a head start on your own.
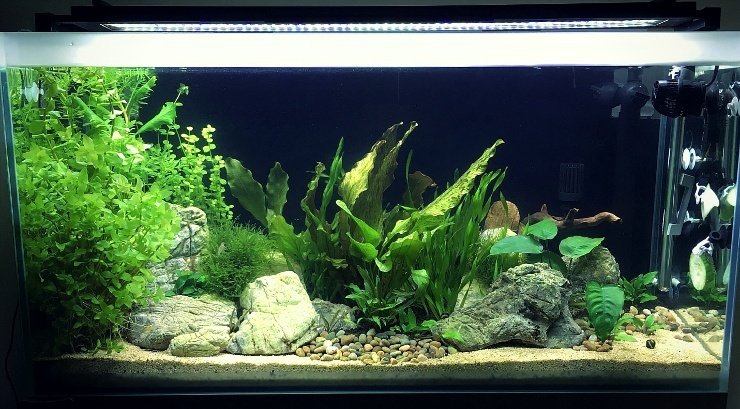
Day 30.
My Tank Choice
I chose a Fluval F90 system. It is a 34-gallon tank but it comes with a decent LED lighting system, an adequate canister filter, a heater and a cabinet. In keeping with this whole project it was a luxury choice but there are reasons I splashed out:

- Tank is pre-drilled. The filter sits in the cabinet and there are no unsightly water pipes.
- The equipment is all picked to work together.
- The lighting unit folds out of the way nicely so you can access the tank easily for plant maintenance and water changes.
- The open design makes it easy to get your carbon dioxide gear set up without a hood in the way.
You could use any tank, though. I like the 36” size and would suggest it strongly. It gives you enough space to make a nice aquascape and a big enough water volume to help keep water parameters stable. Bigger would have been nicer but the price would get even crazier and for a first planted tank you don’t want to bite off more that you can chew.
If you go with a different tank you can still follow my recipe for lighting and filtration etc. as those items can be bought separately.
Filtration
I have a Fluval 206. I have had no problems with it. Compared to older canisters I have owned it is a breeze to disconnect for cleaning.
The filter comes with a block of pre-filter sponges and then a rack of filter media boxes. For my system I just wanted to make sure all ammonia and nitrite got chewed up quickly, I therefore have packed all but one of the boxes with Fluval Biomax Bio Rings. My final box has Seachem Purigen and fine filter floss. Both just to try and keep my water sparkling clean. The Purigen is great as it pulls out the color released by my bogwood but it has other functions too.
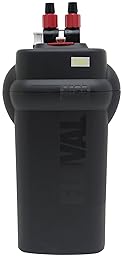
The filter is fine, but in the end I have added a Hydor Koralia 240 powerhead too. This is because when I added my Otocinclus catfish I wanted more water movement. The flow also helps distribute the CO2 to my plants more evenly.
Lighting
The light that comes with the F90 is the Fluval 35W Aqualife. It is designed for 36-46” tanks and can sit right on top of any hoodless tank. Personally, I would not use it for a tank much larger than 36” as although you can extend the supporting brackets you can’t extend the LED strip so you would have lower light levels at each end of your tank. When you buy the Aqualife separately it does not come with the supporting arms you see with the F90 (it simply rests on the tank’s edges, held by brackets which can be slid out to match your tank width).
I read a lot about plant growth and lighting. It is important to get the light right as if it’s the wrong wavelength or strength all your expensive CO2 kit will be wasted. The Aqualife units are a good mid-price offering. If you are interested in the details of light colour and wavelengths there is a great analysis of the light that the Aqualife produces here.
I admit I do not know if my Aqualife produces enough light for really demanding plant species but since it only takes up maybe a third of the tank top you could easily add more lights later.
Substrate
You probably know that plants generate their own food by harnessing energy from light. However, they still need a lot of elements that they can’t make themselves if they are going survive. This is the equivalent of the vitamins and minerals that help us stay healthy.
These come from the substrate – gravel, earth or sand on the base of your tank – and from the water. In my old tanks I was just shoving my plants into pea gravel. This is not how to grow good plants! It’s a little like putting your prize orchid in a pot full of pure grit.
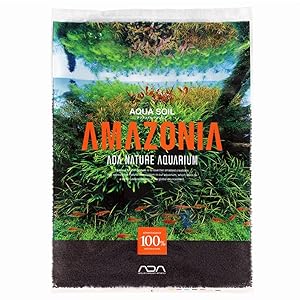
I chose ADA Aquasoil, but not the additional additives that company sells. You will be hard put to find much negative feedback on Aquasoil, except regarding the price This also acts as my feeding area for the animals as it is relatively easy to clean. My sand is ADA Colorado sand.
Basic step-by-step Setup
Please watch videos in references for visual tips on how to do this!
- DO NOT wash your Aquasoil! It will make a terrible muddy mess. Pour it in dry.
- Wash your sand, this can be added wet.
- When your soil is in the tank mist it with water to get it damp without disturbing it.
- Arrange your hardscape (wood, stone etc.)
- Plant your plants still with little or no water.
- Cut open one of your Aquasoil bags, lay it gently over the plants/soil etc. and very slowly fill with water. I still do this each time I do a water change. A blast of water can ruin your aquascape.
- The tank should only be a little cloudy after filling. Go really, really slow with that water.
- Turn on your electrics!
Aquascaping Lab Tutorials:
What not to do (that I did do!)
- Do not rush planting your plants, by the time I got to that stage I was exhausted and made bad choices on placement. I wish I had made a planting diagram and stuck to it. Now i have a monster Bacopa right at the front of my tank!!
- Don’t add so much stone that you limit your planting area.
- Think about whether your hardscape will get in the way of you trimming plants later.
- Don’t rush anything!! I wish I had spent a whole day doing this setup.
Liquid Fertilizers
We have an in-depth guide covering liquid fertilizers. But for the first month or so you do not need any.
I used an app from Tropica, a Danish plant grower – just search the app store – and followed their start-up advice exactly. It works! One of their key bits of advice which I would never have known was that your new plants will be fine with no extra nutrients for a while and by adding extra you are increasing the chance of algae breakouts.
Carbon Dioxide injection
This was the scary bit for me. When I read the blogs online and even sites selling the equipment I did not really get what I needed for a full system. The site that cured that for me was a British one, CO2 Supermarket.
I purchased their Complete Dual Stage CO2 System, they are a great source but, if they are too distant to you, these are the kind of components in the kit:
- a Sodastream CO2 bottle
- a dual Stage CO2 regulator with solenoid, adjustable pressure and dual gauges
- an adapter to make your Sodastream bottle fit your regulator
- a bubble counter with built in check valve to prevent water flowing the wrong way
- an atomizer
- a drop checker kit CO2 resistant airline and suction clips.
Even if you don’t buy from this site it is worth taking a look at it to see their videos on how things work and how to set them up.
An important feature for me was the solenoid which lets you switch your system off electrically.
You need this because you don’t want to pump CO2 into your tank when the lights are off. Plants only use the stuff when it’s light.
If you push in too much CO2 you will push your pH down and harm your fish and plants. So plug your regulator into a timer switch socket and you are all set.
You need to monitor your concentration of CO2 in your tank, this is the purpose of the drop checker. It holds a small amount of an indicator solution which changes colour according to how much CO2 there is in your tank water.
Blue – not enough.
Green – just right.
Yellow – too much.
In my system the bubble counter lets you see how much gas is flowing, 2 bubbles a second is just right for me. I have it set to come on half an hour before the lights and to go off at the same time as the lights.
There are alternative ready-made CO2 kits out there. One example is the Fluval Pressurized 88g CO2 kit, but I can’t really comment on how effective it is. I took my route because it gave me more control and the ability to upgrade later.
Cycling and Water Quality Management
I wanted shrimp, snails and fish in my tank. I wanted to add them fairly soon to help with the algae but not risk their lives with a poorly cycled tank.
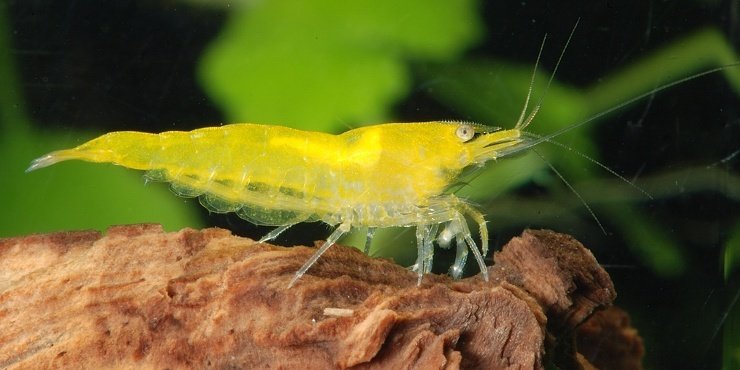
Neocaridina heteropoda yellow (source)
I used ATM Colony to seed the tank with nitrifying bacteria. I don’t know if it was this, my filter or the fact that ADA Aquasoil releases small amounts of nitrogenous compounds that help cycle the tank quickly.
Either way, within 10 days, I had zero ammonia and nitrite.
I change 25% of my water twice a week to be safe.
The Purigen in my filter may have made the tank cycle is a calmer way than normal as it adsorbs many organics before they can breakdown to ammonia etc. Since my start up, I have read that it Purigen slows down the development of your bacteria by keeping ammonia so low. If I did the whole thing again I would run for the first month without this product.
I use RO water because my tap water stinks. It is very hard and contains a lot of nitrate. I add Seachem Equilibrium to add good minerals back to the purified water (1 teaspoon per 25 litres).
Populating the tank
My plants all went in on day 1. A few floated out in the first 24 hours but were easily replanted, extra-long tweezers are invaluable for this and other maintenance. Generally, they have all done well. The Crypts lost a few leaves in the early days but they are stable and starting grow now. My Bacopa and Echinodorus are going like bomb and have had to be trimmed multiple times.
Plant list
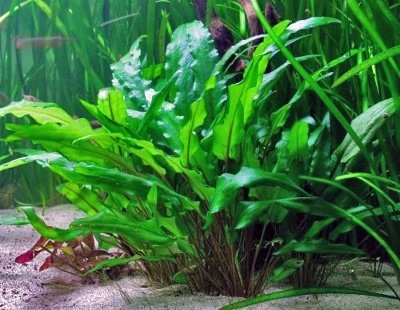
Cryptocoryne Wendtii ‘green’ (source)
Echinodorus ‘Ozelot’ (source)
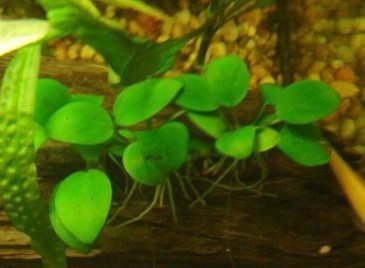
Anubias barteri var nana (source)
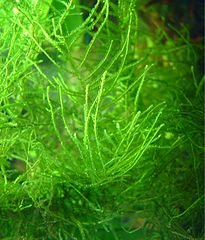
Javamoos Vesicularia dubyana (source)
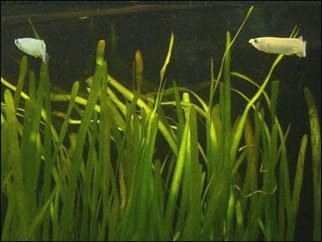
Vallisneria americana (natans) (source)
Hygrophila difformis
Bacopa caroliniana

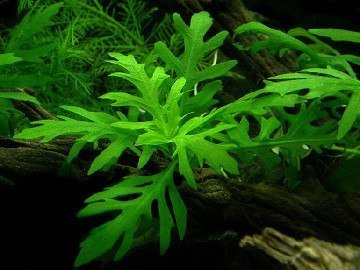
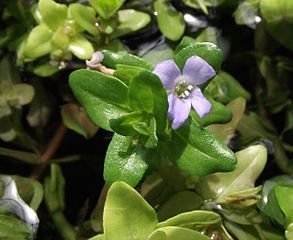
Lindernia Rotundifolia (source)
These are all “easy” plants. Tropica is a great source of information. Have a look at our aquarium plants article!
Critters
6 Cherry shrimp (Neocaridina heteropoda) – Day 10
6 Tiger shrimp (Caridina cantonensis) – Day 14
4 Amano shrimp (Caridina multidentata) – Day 14
5 Nerite Snails (assorted) – Day 14 I found out late these prefer harder water.
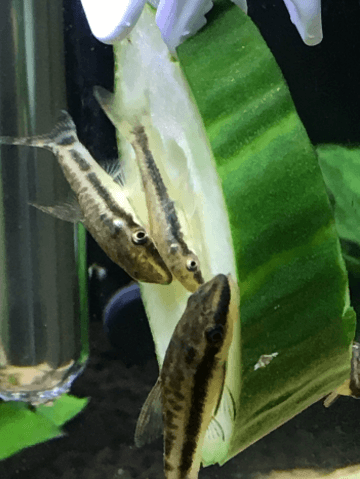
7 Otocinclus affinis – Day 21
I have a very low number of fish for the tank. In a planted tank, I feel this is best as it keeps nitrogen pollution low and means you don’t have a lot of mess to try and clean out from around your plants. I have lost one shrimp, cause unknown.
I feed shrimp pellets and algae wafers but not daily and not in great quantity. Zucchini and Cucumber are always available.
See our article on Otocinclus for details on their care.
Closing Thoughts
Setting up this tank has been a big challenge for me. At the moment I’m up to 8 hours of light a day with the lights at about 70% of full power. Soon I will start adding weekly or daily soluble plant nutrients.
Please, give me some feedback on the tank and this article.
Tell us if you are setting up your own tank soon and what decisions you have made.